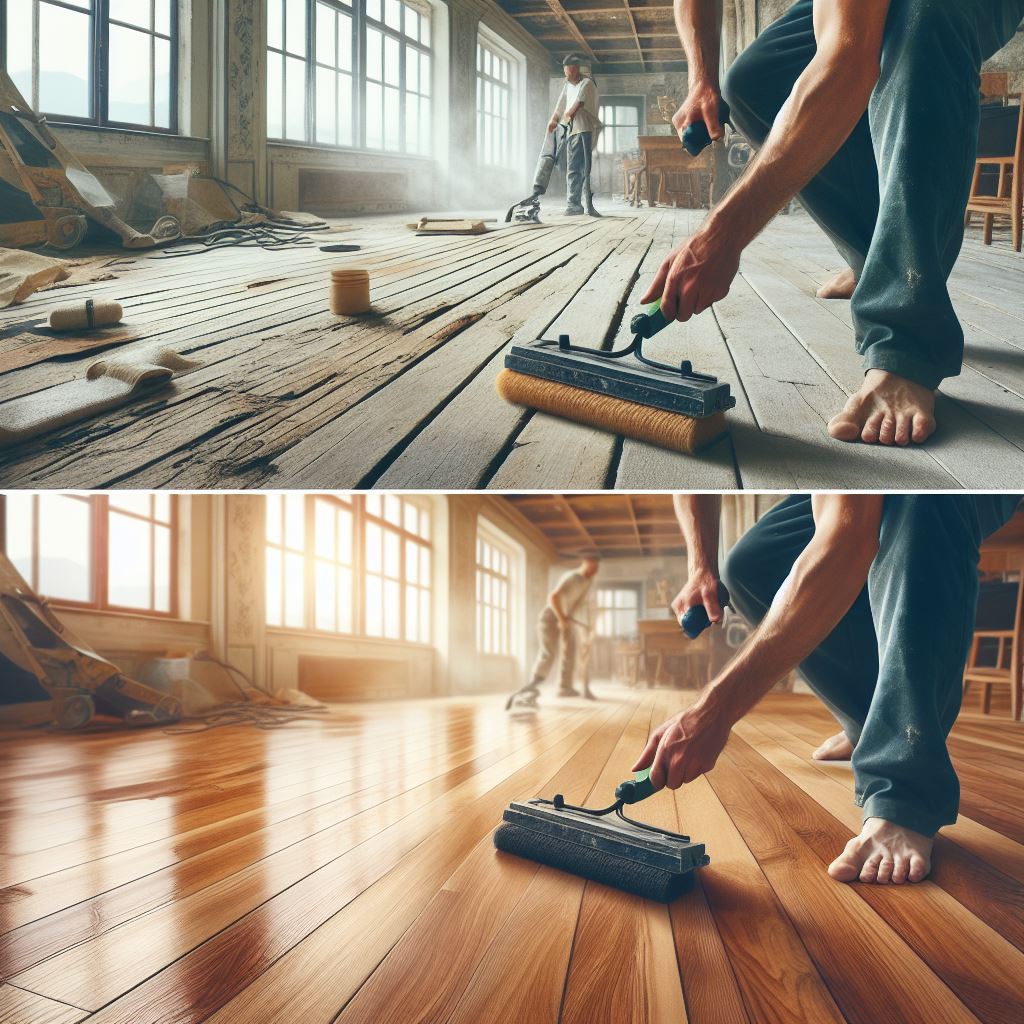
Engineered wood flooring has gained popularity among homeowners for its durability and aesthetic appeal. Unlike solid hardwood, engineered wood consists of a top layer of real hardwood veneer attached to multiple layers of high-quality plywood or fiberboard. This unique construction provides stability and resistance to changes in humidity and temperature, making it an ideal choice for various settings within the Dallas Fortworth area.
One of the questions many homeowners ask is: "Can you oil engineered wood flooring?" The answer lies in the type of finish your engineered flooring has. Oil finishes penetrate the wood, enhancing its natural grain and offering a warm, matte finish that can be touched up easily. However, not all engineered wood floors can be oiled; it depends on the manufacturer's specifications and the finish that was originally applied.
If you're considering adding a rich, lustrous look to your engineered wood floors or have questions about the right finish for your space, Request a free estimate from Paradise Spaces. Our expertise in hardwood and luxury vinyl floors ensures that your flooring will not only look beautiful but will also be treated with the care it deserves.
It's essential to understand the finish of your engineered wood to determine the best maintenance practices. If you're unsure about the current finish or how to maintain your floors, consulting with flooring experts at Paradise Spaces can provide clarity and peace of the mind. Contact us by emailing sales@paradise-spaces.com to discuss your flooring needs.
The Benefits of Oiling Engineered Wood Floors

Oiling engineered wood floors can bring out the richness and depth of the wood's natural grain, offering a range of aesthetic and practical benefits. One of the main advantages is the enhanced beauty it provides. Oiled floors have a more natural, matte finish that can make a room feel warm and welcoming. The oil penetrates deep into the wood, emphasizing the grain and character of each plank.
From a maintenance perspective, oiled engineered floors are known for their ease of repair. Unlike lacquered surfaces that might need complete refinishing after damage, oiled floors can often be spot-treated. A simple application of maintenance oil can blend away minor scratches and scuffs, making them less visible.
Moreover, oil finishes are generally more environmentally friendly compared to some polyurethane finishes. Oils used for flooring often contain natural ingredients, which contribute to a healthier indoor air quality and are better for the environment.
Finally, oiled engineered wood floors offer improved longevity. Regular oiling can help to preserve the wood, protecting it against spills and stains. This can be especially beneficial in high-traffic areas where the floor is subject to more wear and tear. With the proper care, oiled engineered floors can last for decades, retaining their timeless appeal and adding value to your home.
When considering the benefits of oiling your engineered wood floors, it's essential to weigh these factors against your lifestyle and the level of maintenance you're willing to commit to, ensuring that your flooring remains a stunning feature of your home for years to come.
Selecting the Right Oil for Your Engineered Flooring

Selecting the right oil for your engineered flooring is crucial to ensure both the beauty and longevity of your investment. The market offers a plethora of options, but it's important to choose a product that's specifically designed for engineered wood. These oils are formulated to penetrate the wood layers without damaging the glue that holds the veneers together.
When choosing an oil, consider the type of finish you desire. Natural oils will enhance the wood's inherent charm with a matte finish, while hardwax oils offer a subtle sheen and additional protection. It's also worth looking at the oil's viscosity; thinner oils tend to penetrate deeper, but may require more frequent reapplication, whereas thicker oils provide a more robust coat but might not seep into the wood as effectively.
Another important factor is the drying time. Some oils dry quickly, allowing you to use the room sooner, while others might need a longer curing period. This can be especially significant if the room in question is a high-traffic area or if you're unable to vacate the home during the drying process.
Environmental considerations are also part of the decision-making process. Eco-friendly oils with low volatile organic compound (VOC) levels are safer for your family and the planet. These often come with certifications that attest to their ecological and health standards.
Lastly, the color of the oil can significantly impact the final appearance of your floor. Oils come in various tints, allowing you to either preserve the natural color of the wood or alter it to match your interior design vision. It's advisable to test the oil on a small, inconspicuous area of your flooring or on extra planks if available, to ensure you're satisfied with the result.
By carefully considering these factors, you can select the perfect oil that will protect your engineered wood flooring and enhance its natural beauty, complementing your home's overall aesthetic.
Step-by-Step Guide to Oiling Engineered Wood Floors
Oiling engineered wood floors is a task that can refresh and protect your flooring, ensuring it remains in pristine condition. The process involves a few essential steps, each important to achieve the best results. Before you begin, ensure the floor is clean, dry, and free of any dust or debris. Start by vacuuming or sweeping, then mop with a damp cloth and a cleaner suitable for engineered wood floors.
- Step 1: Prepare the Room - Remove furniture and rugs, and tape off skirting boards to protect them from the oil. Ensure the room is well-ventilated to aid in the drying process.
- Step 2: Sanding - Lightly sand the floor if the manufacturer recommends it. This can help the oil adhere better to the surface. Use fine-grit sandpaper and sand in the direction of the wood grain.
- Step 3: Choosing the Right Oil - Select an appropriate oil for your flooring as discussed in the previous section. Read the manufacturer's instructions carefully before application.
- Step 4: Applying the Oil - Apply the oil in small sections using a lint-free cloth or a brush, working in the direction of the wood grain. Ensure even coverage with no pooling.
- Step 5: Buffing - Once the oil is applied, buff the floor with a clean cloth or a buffing machine. This helps the oil to penetrate into the wood and removes any excess.
- Step 6: Drying Time - Allow the oil to dry according to the manufacturer's recommended time. Avoid walking on the floor during this period.
Repeat the oiling process if necessary, especially if you're looking for a glossier finish or additional protection. Regular maintenance oiling is also recommended to keep your engineered wood floors looking their best over time. By following these steps, you'll ensure that your flooring remains a lustrous and durable feature of your home.
Maintenance Tips for Oiled Engineered Wood Floors

After oiling your engineered wood floors, establishing a routine maintenance plan is crucial to preserve their beauty and longevity. Here are several tips to help keep your oiled floors in top condition:
- Regular Cleaning: Sweep or vacuum regularly to remove dirt and grit that can scratch the floor. Use a dry microfiber mop to pick up dust, and when necessary, clean the floor with a damp mop and a cleaner specifically designed for oiled wood floors.
- Spot Cleaning: Immediately clean up any spills with a soft, absorbent cloth to prevent staining. Avoid using harsh chemicals that could damage the oil finish.
- Refresh the Oil: Depending on the level of traffic and wear, re-oil the floor every 6 to 12 months to rejuvenate the finish and fill in any minor scratches.
- Use Protective Pads: Place felt pads under furniture legs to prevent scratches and dents. When moving furniture, lift rather than drag items across the floor.
- Rug Placement: Use rugs or mats in high-traffic areas to minimize wear. Ensure that the mats are non-staining and breathable to avoid trapping moisture.
- Prevent Sun Damage: Protect the flooring from prolonged exposure to direct sunlight with curtains or blinds, as UV rays can fade and degrade the oil finish over time.
- Climate Control: Maintain a stable indoor climate with consistent humidity levels to prevent the wood from expanding or contracting excessively.
By adhering to these maintenance tips, you'll extend the life of your oiled engineered wood floors and keep them looking as inviting as the day they were installed. The key is to treat the floors gently and to address any signs of wear promptly, ensuring that your investment continues to add warmth and elegance to your space.
Common Mistakes to Avoid When Oiling Engineered Flooring

Request a free estimate or email us at sales@paradise-spaces.com before you start your oiling project to avoid common pitfalls.
Oiling engineered wood flooring can enhance its durability and appearance, but it’s important to avoid certain mistakes to ensure the best results. Here are some missteps to steer clear of:
- Not Cleaning Thoroughly: Before applying oil, the floor must be free of all dirt and debris. Failing to clean the floor adequately can result in a patchy finish and trapped particles.
- Over-Oiling: Applying too much oil can leave a sticky residue that attracts dust and dirt. It's essential to follow the manufacturer's instructions regarding the amount of oil to use.
- Using the Wrong Oil: Always use oil that is specifically designed for engineered wood flooring. Other types of oil may not penetrate properly and could damage the floor.
- Ignoring Manufacturer’s Instructions: Each engineered flooring product may have specific requirements for oiling. Disregarding these can void warranties and harm the floor.
- Inadequate Drying Time: Allow sufficient time for the oil to dry completely before walking on the floor or replacing furniture. Rushing this process can cause smudges and uneven finishes.
- Not Testing First: Always test the oil on a small, inconspicuous area of the floor to ensure it gives the desired effect and does not react poorly with the existing finish.
By avoiding these mistakes, you can ensure that your engineered wood flooring remains a stunning feature of your home for years to come. If you're uncertain about any aspect of the oiling process, contact Paradise Spaces for expert advice and assistance. Our team is dedicated to helping you maintain beautiful flooring throughout your home.
To discuss your flooring needs or to avoid these common mistakes, request a free estimate or email us at sales@paradise-spaces.com.
