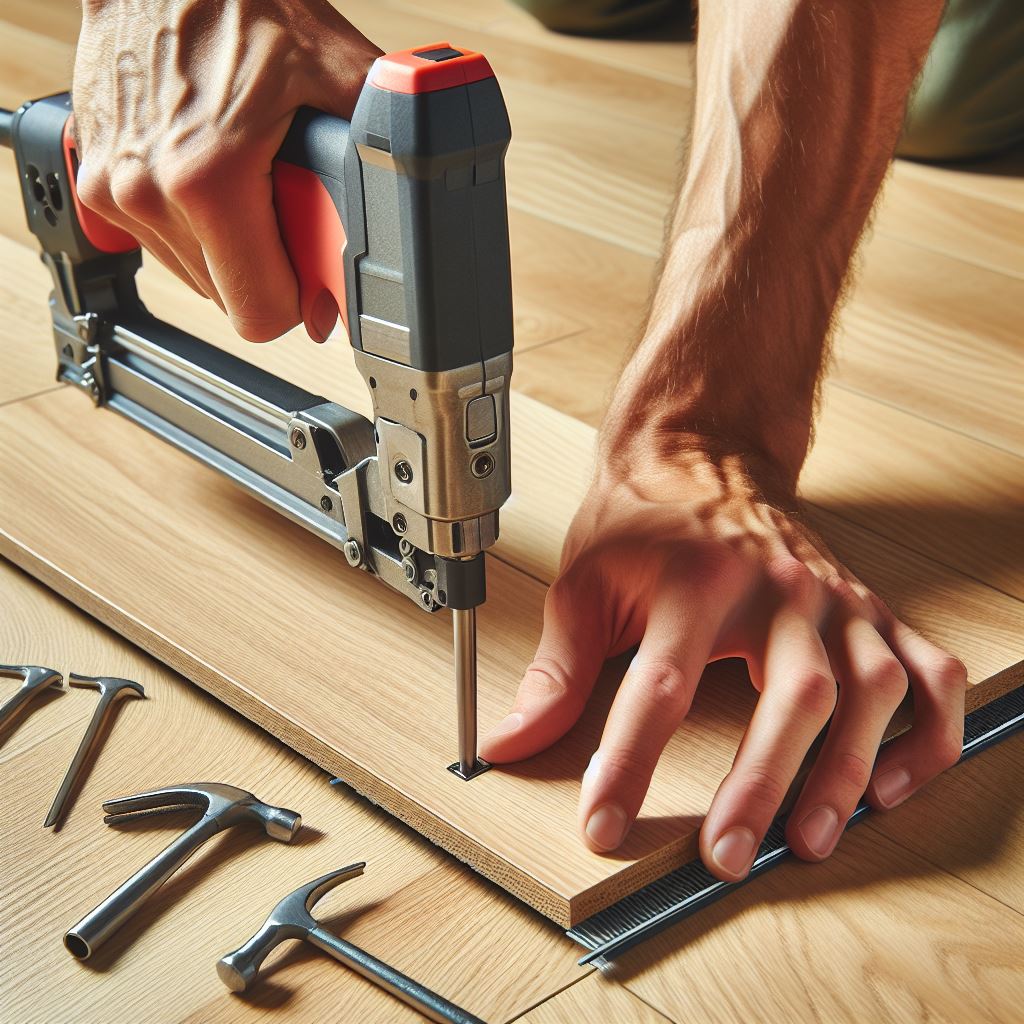
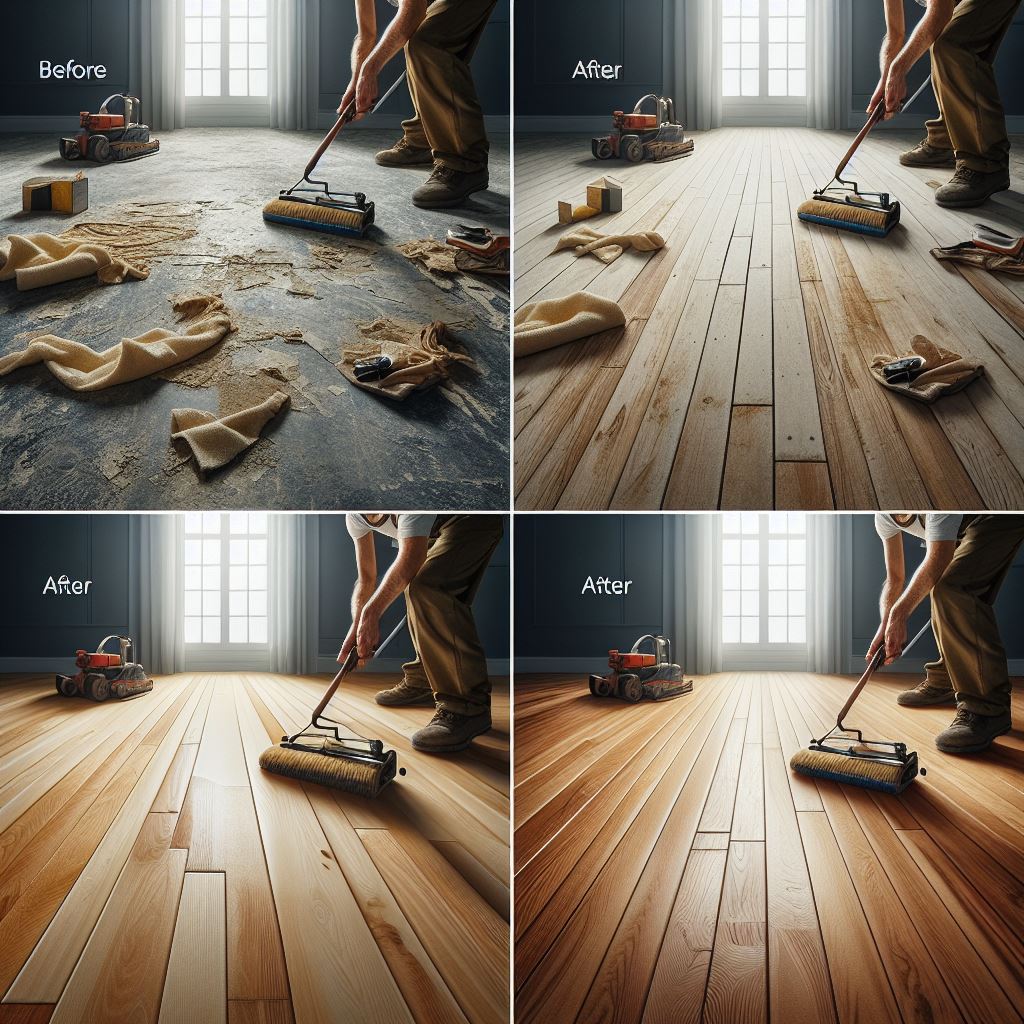
Hardwood floors are a timeless choice for homeowners, offering a blend of aesthetic beauty and durability. However, over time, even the most resilient hardwood flooring can develop splits or cracks due to various factors such as humidity changes, heavy foot traffic, or improper maintenance. Understanding how to repair split hardwood floors is essential for maintaining the longevity and appearance of your flooring.
In this guide, we will walk you through the process of repairing split hardwood floors, from identifying the cause of the damage to implementing effective repair techniques. Whether you are a DIY enthusiast or prefer professional help, these instructions will equip you with the knowledge to restore your floors to their former glory.
Before diving into the repair process, it is crucial to gather the necessary tools and materials. Having everything on hand will make the repair process smoother and more efficient. Additionally, we will discuss preventative measures you can take to minimize the risk of future splits and cracks in your hardwood floors.
Ready to give your hardwood floors the care they deserve? Request a free estimate or email us at sales@paradise-spaces.com to get started with professional advice and services tailored to your flooring needs.
Identify the Type of Split or Crack
Before you can effectively repair your hardwood floors, it's crucial to identify the type of split or crack you are dealing with. Different types of damage require different approaches for successful repair. The most common types of splits and cracks you'll encounter include surface splits, deep cracks, and edge splits.
- Surface Splits: These are shallow splits that usually appear on the top layer of the hardwood. They are often caused by minor impacts or natural wear and tear and can usually be repaired with wood filler or a similar product.
- Deep Cracks: These go deeper into the wood and may be caused by significant impacts or prolonged exposure to fluctuating humidity. Repairing deep cracks often involves more intensive methods, such as using wood glue or even replacing the affected board.
- Edge Splits: These splits occur along the edges of the hardwood planks and are often caused by improper installation or expansion and contraction of the wood. Edge splits may require special adhesives and clamping techniques for effective repair.
Understanding the type of damage is the first step in executing a successful repair. By accurately identifying the type of split or crack, you can choose the most appropriate repair method and materials, ensuring a long-lasting and visually pleasing result.
Gather Essential Repair Tools

Once you've identified the type of split or crack, the next step is to gather the essential repair tools. Having the right tools on hand will make your repair process more efficient and effective. Here is a list of basic tools and materials you will need:
- Wood Filler: Ideal for surface splits, wood filler is used to fill small gaps and cracks. Choose a filler that matches the color of your hardwood for the best results.
- Wood Glue: For deeper cracks, a high-quality wood glue can help secure the split pieces together. Ensure the glue is suitable for hardwood to maintain the strength of the repair.
- Putty Knife: This tool is essential for applying wood filler smoothly and evenly into the cracks.
- Sandpaper: After the filler or glue has dried, use sandpaper to smooth out the repaired area. A variety of grits may be needed, starting with a coarser grit and finishing with a fine grit for a polished look.
- Clamps: These are particularly useful for holding the wood pieces together while the glue dries, ensuring a strong bond.
- Cleaning Supplies: Before you start the repair, make sure the damaged area is clean. Use a vacuum or a damp cloth to remove any dust and debris.
- Protective Gear: Safety is paramount. Wear gloves and eye protection to safeguard yourself during the repair process.
By assembling these tools and materials before you begin, you'll be well-prepared to tackle any type of split or crack in your hardwood floors. This preparation will not only make the process smoother but also ensure a more durable and aesthetically pleasing repair.
Step-by-Step Repair Process

With your tools gathered, you're ready to begin the step-by-step repair process. Follow these simple steps to restore your split hardwood floor:
- Clean the Damaged Area: Start by thoroughly cleaning the split or cracked area. Remove any dirt, dust, or debris using a vacuum or a damp cloth. This will ensure that the filler or glue adheres properly.
- Apply Wood Glue or Filler: Depending on the severity of the split, apply wood glue or wood filler. For minor surface splits, wood filler is usually sufficient. For deeper cracks, inject wood glue into the split. Make sure to use enough filler or glue to completely fill the gap.
- Clamp the Area (if needed): If you've used wood glue, place clamps on either side of the split to hold the wood pieces together tightly while the glue dries. Follow the manufacturer's drying time instructions, usually around 24 hours.
- Allow to Dry: Give the filler or glue ample time to dry. This step is crucial for ensuring a strong and lasting repair. Avoid walking on the repaired area until it's fully dry.
- Sand the Surface: Once the filler or glue has dried, use sandpaper to smooth out the repaired area. Start with a coarser grit to remove excess material, then switch to a finer grit for a polished finish. Sand in the direction of the wood grain to avoid scratches.
- Clean Up: After sanding, clean the area again to remove any dust and debris. This will ensure the smoothest finish when you apply a stain or finish.
- Stain and Finish (if necessary): If your hardwood floor has a stain or finish, you may need to reapply it to the repaired area to match the rest of the floor. Use a matching stain and finish, and follow the manufacturer's instructions for application and drying times.
By following these steps, you can effectively repair splits in your hardwood floor, restoring its beauty and functionality. This method ensures a durable repair that blends seamlessly with your existing flooring, maintaining the overall aesthetic of your home.
Finishing and Sealing the Repair

After completing the repair, the next crucial step is finishing and sealing the repair to ensure durability and aesthetics. This process not only protects the repaired area but also helps it blend seamlessly with the rest of your hardwood floor.
- Choose the Right Stain: Select a stain that matches the color of your existing hardwood floor. This is essential for achieving a uniform look. Test the stain on a small, inconspicuous area first to ensure it matches.
- Apply the Stain: Use a clean cloth or brush to apply the stain to the repaired area. Work in the direction of the wood grain to avoid streaks. Apply the stain evenly and allow it to penetrate the wood for the time specified by the manufacturer. Wipe off any excess stain with a clean cloth.
- Let the Stain Dry: Allow the stained area to dry thoroughly. This usually takes several hours, but drying times can vary based on the type of stain and environmental conditions. Ensure the area is completely dry before proceeding to the next step.
- Apply a Protective Finish: Once the stain is dry, apply a protective finish to seal the repair. Choose a finish that matches the sheen of your existing floor, such as matte, semi-gloss, or high-gloss. Use a brush or applicator pad to apply a thin, even coat of the finish.
- Allow the Finish to Dry: Let the first coat of finish dry completely. This can take anywhere from a few hours to overnight, depending on the product used. Ensure the area is well-ventilated to expedite the drying process.
- Sand and Reapply (if needed): If the first coat of finish raises the wood grain or feels rough, lightly sand the area with fine-grit sandpaper. Clean off any dust and apply a second coat of finish. Repeat this process until you achieve a smooth, even surface.
By carefully following these steps, you can ensure the repaired area is well-protected and blends seamlessly with the rest of your floor. Proper finishing and sealing not only enhance the appearance of the repair but also extend the life of your hardwood flooring.
Preventing Future Splits in Hardwood Floors

Preventing future splits in your hardwood floors is essential to maintain their beauty and longevity. By adopting some proactive measures, you can protect your investment and avoid the need for frequent repairs.
- Maintain Optimal Humidity Levels: Hardwood floors are sensitive to changes in humidity. Use a humidifier during dry seasons and a dehumidifier during humid seasons to keep indoor humidity levels between 30-50%. This helps prevent the wood from expanding and contracting excessively.
- Regular Cleaning and Maintenance: Clean your floors regularly with a soft broom or vacuum to remove dirt and debris that can cause scratches. Use a damp mop with a hardwood floor cleaner to maintain the finish. Avoid excessive water, as it can seep into the wood and cause splits.
- Use Protective Pads and Rugs: Place felt pads under furniture legs to prevent scratches and dents. Use area rugs in high-traffic areas and entryways to reduce wear and tear. This can significantly extend the life of your hardwood floors.
- Avoid High Heels and Pet Nails: High heels and pet nails can cause dents and scratches on hardwood floors. Encourage family members and guests to remove their shoes, and keep pet nails trimmed to prevent damage.
- Refinish When Needed: Over time, the finish on your hardwood floors can wear down. Periodically refinish your floors to restore their protective layer and keep them looking new. This process can help prevent splits and other damage.
- Address Issues Promptly: If you notice any signs of damage, such as small splits or cracks, address them promptly. Early intervention can prevent minor issues from becoming major problems.
By implementing these preventive measures, you can keep your hardwood floors in excellent condition for years to come. If you need professional assistance or have any questions about maintaining your floors, request a free estimate or email us at sales@paradise-spaces.com.
