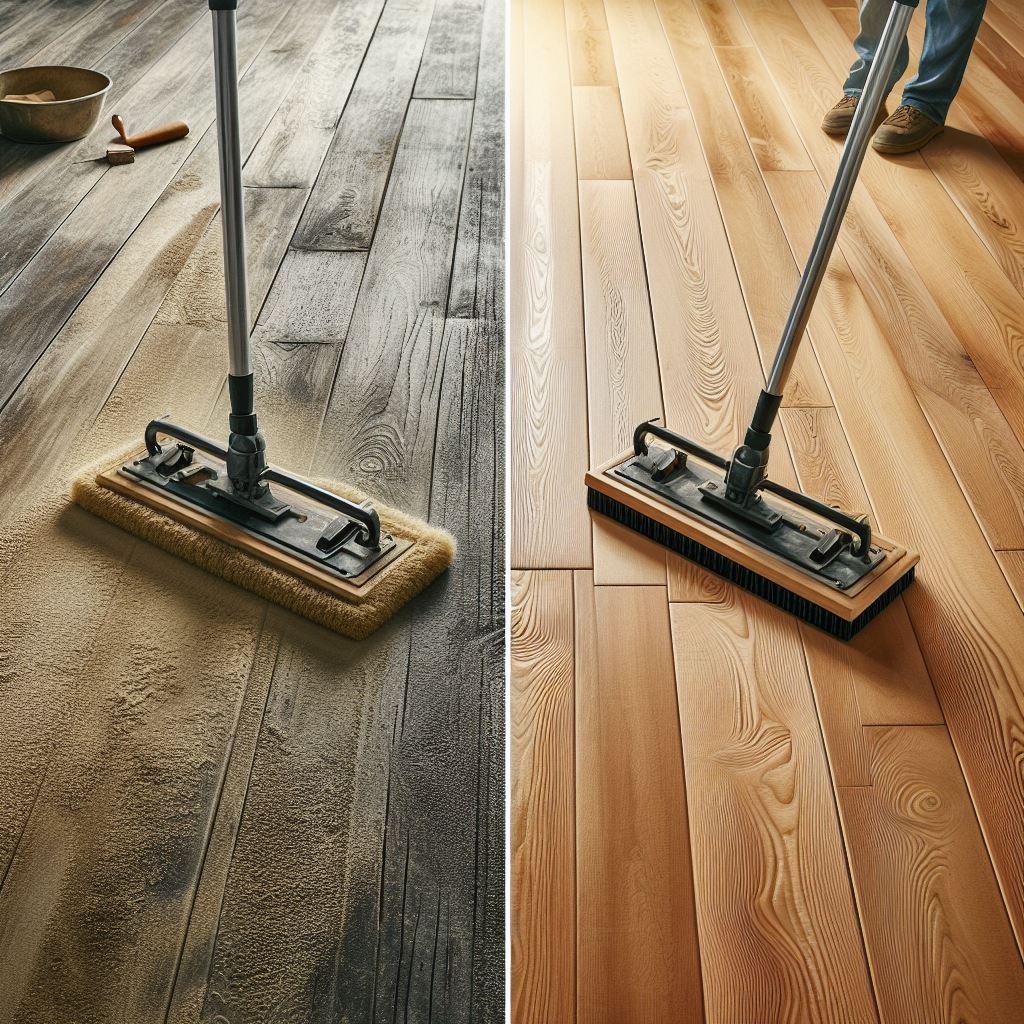
Engineered wood flooring is a popular choice among homeowners and designers due to its durability, versatility, and aesthetic appeal. Unlike traditional hardwood floors, engineered wood consists of multiple layers, with a top layer of real hardwood veneer and a core made of plywood or high-density fiberboard. This construction provides enhanced stability, making it less susceptible to changes in temperature and humidity.
One of the key benefits of engineered wood flooring is its easy installation process, which can often be completed as a DIY project. Additionally, it can be installed over a variety of subfloors, including concrete, making it a versatile option for different home environments. The variety of finishes and wood species available means that there is a style to suit every taste, from classic oak to exotic teak.
However, to ensure the longevity and performance of your engineered wood flooring, it's crucial to understand what goes under engineered wood flooring. The underlayment plays a pivotal role in providing a smooth surface for installation, adding a layer of cushioning, and acting as a moisture barrier to protect your floors.
Ready to transform your home with the timeless elegance of engineered wood flooring? Request a free estimate or email us at sales@paradise-spaces.com to get started today!
Importance of Proper Underlayment

When it comes to installing engineered wood flooring, the underlayment is an essential component that should not be overlooked. The underlayment serves multiple purposes that contribute to the overall performance and longevity of your flooring. First and foremost, it provides a smoother and more even surface for the installation of the flooring planks. This is crucial for avoiding any imperfections or unevenness that could affect the final appearance of your floors.
Another significant role of the underlayment is to act as a moisture barrier. Moisture can be detrimental to engineered wood flooring, leading to warping, swelling, and other forms of damage. A quality underlayment helps to prevent moisture from seeping up from the subfloor, protecting your investment.
Additionally, the underlayment adds a layer of cushioning which enhances comfort underfoot and reduces noise. This is particularly beneficial in multi-story homes or apartments where sound insulation can be a concern. The cushioning also helps to absorb minor impacts, providing a slightly softer feel when walking on the floor.
Lastly, the underlayment can contribute to thermal insulation, helping to keep your floors warmer in the winter and cooler in the summer. This can be especially advantageous in regions with extreme temperature variations. By choosing the right underlayment, you can significantly enhance the performance and comfort of your engineered wood flooring.
Types of Underlayment for Engineered Wood

Choosing the right underlayment for your engineered wood flooring is crucial for ensuring optimal performance and longevity. There are several types of underlayment available, each offering unique benefits that cater to different needs and installation conditions.
Foam Underlayment is one of the most popular options. It is lightweight, easy to install, and provides a good level of sound absorption and cushioning. Foam underlayment is available in various thicknesses and densities, allowing you to choose the one that best suits your specific flooring requirements.
Cork Underlayment is another excellent choice, especially for those looking for an eco-friendly option. Cork is a natural material that offers superior sound insulation and thermal properties. It is also resistant to mold and mildew, making it a great option for areas with higher moisture levels.
Rubber Underlayment is known for its durability and excellent soundproofing capabilities. It is often used in commercial settings but can also be a great choice for residential applications where noise reduction is a priority. Rubber underlayment is also resistant to moisture and provides good thermal insulation.
For installations over concrete subfloors, a moisture barrier underlayment is essential. This type of underlayment typically includes a plastic or polyethylene film that prevents moisture from penetrating the flooring. It is particularly important in basements or areas with high humidity levels.
Lastly, felt underlayment is a traditional option that offers excellent cushioning and sound absorption. Felt is made from recycled fibers and is available in various thicknesses. It provides a comfortable underfoot feel and is suitable for both residential and commercial applications.
By understanding the different types of underlayment, you can make an informed decision that best suits your needs and ensures the longevity and performance of your engineered wood flooring.
Moisture Barriers and Their Role

Moisture barriers play a critical role in protecting engineered wood flooring from the damaging effects of moisture. Engineered wood, while more resistant to moisture than solid hardwood, can still suffer from warping, swelling, and mold growth if exposed to excessive moisture. Understanding the importance and types of moisture barriers can help ensure the longevity and durability of your flooring.
Plastic or Polyethylene Film is one of the most common types of moisture barriers. This thin film is typically laid directly over the subfloor before installing the underlayment and engineered wood flooring. It acts as a shield, preventing moisture from the subfloor from seeping into the flooring material.
Liquid Moisture Barriers are applied directly to the subfloor using a roller or brush. These liquid solutions create a seamless, impermeable layer that blocks moisture. Liquid barriers are especially useful for uneven subfloors, as they fill in cracks and gaps to provide comprehensive protection.
Combination Underlayment with Built-in Moisture Barriers offers a convenient, all-in-one solution. These underlayments come with an integrated moisture barrier, eliminating the need for a separate layer. This type of underlayment is particularly beneficial for DIY installations, as it simplifies the process while providing effective moisture protection.
In addition to these, vapor barriers are sometimes used in particularly moist environments. Vapor barriers are designed to block water vapor from passing through the subfloor and into the engineered wood flooring. They are essential in areas like basements, where humidity levels can be significantly higher.
Proper installation of moisture barriers is crucial. Ensure the barrier covers the entire subfloor and overlaps at the seams to provide complete protection. By taking these steps, you safeguard your engineered wood flooring from moisture-related issues, promoting a long-lasting and beautiful floor.
Installation Tips for Underlayment

Installing underlayment correctly is essential for achieving a stable and comfortable surface for your engineered wood flooring. Here are some practical tips to ensure a smooth and effective installation:
1. Prepare the Subfloor: Before installing the underlayment, ensure the subfloor is clean, dry, and level. Remove any debris, nails, or staples that might interfere with the installation. If the subfloor is uneven, consider using a leveling compound to create a uniform surface.
2. Acclimate the Underlayment: Just like engineered wood flooring, underlayment materials should acclimate to the room's temperature and humidity. Leave the underlayment in the room for at least 24 hours before installation to prevent expansion or contraction after it's laid down.
3. Measure and Cut: Measure the room dimensions accurately and cut the underlayment to fit. It's advisable to leave an extra inch around the edges, which can be trimmed after the underlayment is in place. Use a utility knife for precise cuts and ensure the pieces fit snugly against each other.
4. Lay the Underlayment: Start from one corner of the room and unroll the underlayment, laying it flat on the subfloor. If you're using multiple sheets, make sure they overlap slightly to prevent gaps. For underlayments with built-in moisture barriers, ensure the moisture barrier side faces down.
5. Secure the Underlayment: Use underlayment tape to secure the seams between sheets. This not only holds the underlayment in place but also provides an additional moisture barrier. Some underlayments come with adhesive strips; if yours does, use them to attach the edges securely.
6. Trim Excess Material: Once the underlayment is fully laid and secured, trim any excess material around the edges of the room. Ensure the underlayment fits neatly against the walls without curling or bunching up.
By following these tips, you can create a solid foundation for your engineered wood flooring, enhancing its performance and longevity. Proper underlayment installation not only provides comfort and sound insulation but also protects your flooring from potential damage over time.
Common Mistakes to Avoid
Even with the best materials and intentions, certain common mistakes can compromise the effectiveness of your underlayment and the overall quality of your engineered wood flooring installation. Here are some pitfalls to avoid:
1. Skipping Subfloor Preparation: Overlooking the importance of a clean, dry, and level subfloor can lead to uneven flooring and potential damage. Always take the time to thoroughly prepare the subfloor before laying down the underlayment.
2. Incorrect Underlayment Choice: Using the wrong type of underlayment for your specific flooring or subfloor can result in inadequate moisture protection, poor sound insulation, or discomfort underfoot. Ensure you select an underlayment that is compatible with your engineered wood flooring and subfloor type.
3. Poor Acclimation: Failing to acclimate the underlayment to the room's conditions can cause it to expand or contract after installation, leading to gaps or bulges. Always allow the underlayment to sit in the installation area for at least 24 hours before laying it down.
4. Inadequate Overlapping and Sealing: Not overlapping underlayment sheets sufficiently or neglecting to seal the seams can leave gaps that compromise moisture protection and sound insulation. Ensure sheets overlap as recommended and use underlayment tape or adhesive strips to secure the seams.
5. Neglecting to Trim Excess: Leaving excess underlayment around the edges can cause it to bunch up or interfere with baseboards and trims. Always trim the excess material for a neat fit.
By avoiding these common mistakes, you can ensure a more professional and durable installation of your engineered wood flooring. Proper attention to detail during the underlayment installation process will pay off in the long run.
Ready to transform your space with expertly installed engineered wood flooring? Request a free estimate or email us at sales@paradise-spaces.com for more information.
