

Welcome to the world of engineered wood flooring edging, a key aspect that can make or break the aesthetics and functionality of your flooring. Edging is the process of finishing the sides of your engineered wood flooring, ensuring a seamless transition between floor and wall or between different flooring materials. The right edging technique not only enhances the beauty of your floors but also protects the edges from wear and tear, providing a polished and professional look.
At Paradise Spaces, we understand that every detail counts. That’s why we offer a variety of edging options to perfectly complement your engineered wood flooring. From the popular T-molding to the sleek flush reducer, our skilled professionals are equipped to deliver the finest finish for your space. Engineered wood flooring edging is not just a detail; it's an art that requires precision and expertise.
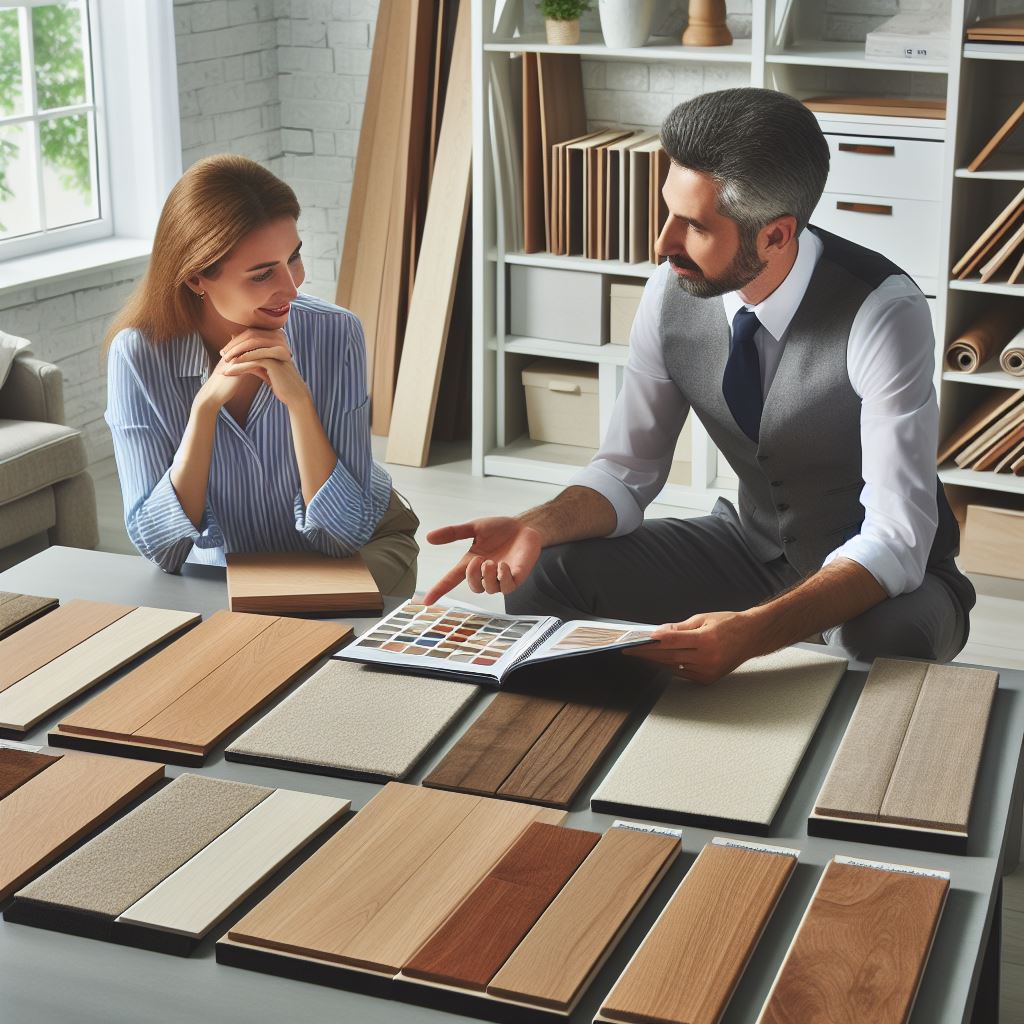
Whether you’re renovating your home or upgrading your commercial space, our team at Paradise Spaces is ready to assist you in selecting and installing the ideal edging for your engineered wood floors. Don’t hesitate to request a free estimate or email us at sales@paradise-spaces.com to discuss your flooring needs and explore the possibilities.
Understanding the Importance of Proper Flooring Edging
The significance of proper flooring edging goes beyond mere aesthetics. It serves as a critical element in the longevity and durability of your engineered wood flooring. Edging acts as a barrier, protecting the delicate edges of the wood planks from moisture, debris, and the wear of daily foot traffic. Moreover, it aids in accommodating the natural expansion and contraction of wood with changes in humidity and temperature, thereby preventing warping or buckling of the floorboards.
Proper edging also plays a vital role in safety. Without the right edging, the edges of the floor can become tripping hazards, especially in high-traffic areas. By smoothing the transition between different surfaces or levels, edging minimizes the risk of accidents. Additionally, it completes the look of a room by creating a cohesive design flow, seamlessly integrating the flooring with other architectural elements.
Understanding the importance of proper engineered wood flooring edging is essential for any homeowner or business looking to install new floors or update existing ones. It ensures that your investment is protected, your space is safe, and your floors look professionally finished. At Paradise Spaces, our expertise in flooring edging guarantees that every edge and transition is handled with the utmost care and precision, resulting in a flawless finish that stands the test of time.
Selecting the Right Engineered Wood Flooring Edging
Selecting the right engineered wood flooring edging is a critical decision that impacts not just the longevity and functionality of your flooring, but also its overall appearance. There are several types of edging available, each designed to complement different installation methods and aesthetic preferences. The most common types include square edge, micro-beveled edge, and eased edge, each offering a unique look and feel.
Square edges create a smooth, uniform surface where the floorboards meet, giving the floor a sleek and seamless appearance. Micro-beveled edges feature a slight angle on the top edge of the board, creating subtle definition and depth, which can help mask minor irregularities in the floor. Eased edges, on the other hand, offer a gentle rounding that softens the transition between boards, providing a more forgiving surface when it comes to movement and expansion.
When selecting the appropriate edging for your engineered wood flooring, it's important to consider the style of your space, the level of traffic the area will receive, and the maintenance you're willing to undertake. Different edging types can influence the ease of cleaning and the visibility of wear over time. At Paradise Spaces, we offer expert guidance to help you select an edging that not only meets your aesthetic vision but also functions optimally in your specific environment. With our extensive range of edging options, you can trust that the finishing touch to your flooring will be nothing short of perfect.
Step-by-Step Guide to Installing Engineered Wood Edges

Proper installation of engineered wood flooring edging is paramount to achieving a professional and enduring finish. Here is a step-by-step guide to ensure your flooring edges are installed flawlessly:
- Prepare the Subfloor: Ensure that the subfloor is clean, level, and dry. Any discrepancies in the subfloor can affect the final result, so take the time to address these issues before laying the flooring.
- Measure and Plan: Carefully measure the area where the engineered wood will be installed. Plan the layout of the boards to avoid narrow pieces at the perimeter of the room. Consider the direction of the wood grain and the source of light for the best visual appeal.
- Acclimate the Flooring: Allow the engineered wood to acclimate to the room's temperature and humidity for at least 48 hours prior to installation to prevent future expansion or contraction.
- Cut to Size: Using the right saw for the type of edging chosen, cut the boards to the required length, ensuring that the ends are square for a tight fit.
- Glue or Float: Depending on the type of engineered wood and the manufacturer's recommendations, you may need to glue down the edges or opt for a floating installation. Apply adhesive as instructed if necessary.
- Install the Edging: Begin laying the engineered wood flooring along the longest wall, making sure to insert spacers between the wall and the boards to allow for expansion. Work your way across the room, carefully fitting the tongue-and-groove edges together.
- Finishing Touches: Once all boards are in place, remove the spacers and install baseboards or quarter-round molding to cover the expansion gap and give your flooring a polished look.
Following these steps diligently will give your floor a superior finish and stability. Remember, each type of engineered wood may have specific instructions, so consult with the product guidelines for any additional steps or considerations. At Paradise Spaces, our expertise in engineered wood flooring edging ensures that every project we undertake is executed with precision and care, guaranteeing stunning results that stand the test of time.
Expert Tips for Flawless Engineered Flooring Edges

Achieving flawless edges in engineered wood flooring requires precision, patience, and the right techniques. Here are expert tips to ensure that the edging on your engineered wood floors is nothing short of perfect:
- Choose the Right Trim: Select a trim style that complements both the flooring and the room. Options include T-molding, stair-nosing, and reducer strips, each designed for specific purposes and transitions.
- Custom Stain to Match: If you cannot find a prefinished trim that matches your flooring, consider staining a raw trim to achieve a seamless match. This can also be beneficial when dealing with color variations in natural wood.
- Allow for Expansion: Wood naturally expands and contracts with changes in humidity and temperature. Leave the recommended expansion gap between the floor and the wall to prevent buckling.
- Use the Right Tools: Invest in a high-quality saw for precise cuts and a tapping block to gently fit the planks together without damaging the edges.
- Consider the Details: Pay attention to the corners and transitions. For a professional finish, miter the corners at a 45-degree angle and always double check your measurements before cutting.
- Don't Rush the Process: Rushing can lead to mistakes. Take your time to carefully measure, cut, and fit each piece. Patience during installation will pay off in the long run.
- Seek Professional Advice: If you're unsure about any aspect of the installation process, don't hesitate to consult with a flooring specialist. At Paradise Spaces, we're always ready to provide guidance or assist with your engineered wood flooring edging needs.
By following these expert tips, you can ensure that your engineered wood flooring edges are installed with the highest level of craftsmanship. Remember, the beauty of a floor lies in the details, and the edges are no exception. Whether you're a DIY enthusiast or seeking professional installation, Paradise Spaces is your partner in creating exquisitely edged floors that elevate the elegance of your space.
Maintenance and Care for Engineered Wood Floor Edges

Proper maintenance and care are crucial for preserving the longevity and appearance of your engineered wood floor edges. Here are some essential tips for keeping your edges in top condition:
- Regular Cleaning: Dust and debris can accumulate along the edges, leading to scratches and wear over time. Sweep or vacuum regularly and use a soft-bristled attachment to prevent damage.
- Avoid Moisture: Water and engineered wood floors do not mix well, especially along the edges. Wipe up spills immediately and avoid using a wet mop. Instead, use a damp cloth and a cleaner specifically designed for engineered wood floors.
- Protect from Furniture: Use furniture pads to prevent scratches and dents from heavy furniture. When moving furniture, lift rather than drag to avoid damaging the edges of your floor.
- Periodic Inspections: Check the edges of your floor occasionally for signs of wear or damage. Addressing issues early can prevent more extensive repairs in the future.
- Professional Refinishing: If the edges of your floor become worn or damaged, professional refinishing may be necessary. This process can restore the appearance of your floors and protect the edges from further damage.
Maintaining the edges of your engineered wood flooring is just as important as caring for the rest of your floor. With these tips, you can ensure that your floors stay beautiful and functional for years to come. If you need assistance with maintenance or have any questions about caring for your engineered wood floors, request a free estimate or email us at sales@paradise-spaces.com. At Paradise Spaces, we are dedicated to helping you enjoy your luxury floors with minimal hassle and maximum satisfaction.