

When it comes to enhancing the beauty and value of your home, few things can match the elegance and durability of hardwood flooring. Whether you're renovating an older space or building a new one, understanding the hardwood floor installation timeline can help you plan efficiently and avoid unnecessary delays. This article will guide you through the process, breaking down each step from preparation to completion.
Hardwood floor installation is a multi-step process that requires careful planning and execution. It starts with choosing the right type of wood, considering factors like wood species, plank size, and finish. After selection, the next phase involves preparing the subfloor, which must be clean, dry, and level to ensure a smooth installation. This preparation stage is crucial as it determines the longevity and appearance of your new floor.
Once the subfloor is ready, the actual installation begins. This includes laying down the boards, securing them in place, and ensuring they are properly aligned. Depending on the size of the area and the complexity of the layout, this can take anywhere from a few days to a couple of weeks. Following installation, the floors may need to be sanded and finished, which adds additional time to the timeline but ensures a flawless look.
Understanding these steps and the time required for each can help you manage your expectations and plan accordingly. Ready to transform your space with the timeless beauty of hardwood floors? Request a free estimate or email us at sales@paradise-spaces.com
Preparation for Hardwood Floor Installation

Preparation for hardwood floor installation is a critical step that sets the stage for a successful project. Proper preparation ensures that your new flooring will not only look stunning but also stand the test of time. Here's what you need to know about getting ready for hardwood floor installation.
First and foremost, the condition of the subfloor is paramount. The subfloor must be clean, dry, and level. Any debris, moisture, or unevenness can lead to problems down the line, such as warping or gaps between the floorboards. To achieve this, you may need to remove old flooring materials, sand down high spots, and fill in low areas.
Acclimation of the hardwood planks is another vital step. Wood is a natural material that expands and contracts with changes in humidity and temperature. To prevent issues like buckling or gaps, it's essential to let the wood acclimate to the room's environment. Typically, this process involves leaving the unopened boxes of hardwood in the installation area for at least 48-72 hours.
Additionally, make sure you have all the necessary tools and materials on hand before starting the installation. This includes items like a moisture meter, underlayment, nails or staples, a saw, and safety equipment. Having everything prepared in advance can save you time and ensure a smoother installation process.
Finally, consider the layout and design of your new floor. Planning the direction and pattern of the installation, whether it's a traditional straight lay, diagonal, or herringbone pattern, will help you achieve the desired aesthetic and ensure efficient use of materials.
Subfloor Inspection and Preparation
Before installing hardwood floors, conducting a thorough subfloor inspection and preparation is crucial. A well-prepared subfloor ensures a smooth installation process and prolongs the lifespan of your hardwood flooring.
The first step in subfloor inspection is checking for structural integrity. The subfloor should be solid, without any signs of damage or decay. Inspect for squeaks and loose boards, as these can lead to future problems. If you encounter any issues, they should be addressed before proceeding with the installation.
Next, examine the subfloor for flatness. An uneven subfloor can cause the hardwood planks to shift or create gaps over time. Use a straight edge or level to check for high and low spots. High spots can be sanded down, while low spots might require filling with a leveling compound. Ensuring a flat surface is essential for a seamless hardwood floor installation.
Moisture content is another critical factor to consider. Excess moisture in the subfloor can lead to warping, cupping, or mold growth. Use a moisture meter to measure the moisture levels in both the subfloor and the hardwood planks. It's important that they are within an acceptable range, typically below 12% for wood subfloors. If moisture levels are too high, address the issue before moving forward.
The type of subfloor material also affects the installation process. Plywood and oriented strand board (OSB) are common subfloor materials suitable for hardwood installation. However, if your subfloor is concrete, additional steps like applying a moisture barrier or using specific adhesives may be necessary.
Lastly, clean the subfloor thoroughly. Remove any debris, dust, or old adhesive residues that could interfere with the installation. A clean subfloor provides a stable foundation for your new hardwood floors and helps ensure a professional finish.
Acclimation of Hardwood Flooring
Acclimating your hardwood flooring is an essential step in the installation process, ensuring that the wood adjusts to the humidity and temperature conditions of your home. This helps prevent potential issues such as warping, gapping, or buckling after installation.
The acclimation process begins by delivering the hardwood flooring to the installation site. It's important to leave the flooring in its original packaging while it acclimates to the environment. Place the packages in the room where the flooring will be installed, allowing air to circulate around them. This step is crucial for the wood to adapt gradually to the room's conditions.
The recommended acclimation period typically ranges from 3 to 7 days, although this can vary depending on the specific type of hardwood and the manufacturer's guidelines. During this time, maintain a consistent indoor temperature between 60°F and 80°F and a relative humidity level between 30% and 50%. These conditions help the wood achieve a stable moisture content that matches your home's environment.
Using a moisture meter, periodically check the moisture content of both the hardwood planks and the subfloor. The goal is to achieve equilibrium moisture content (EMC), where the wood's moisture level is in balance with the surrounding air. This helps prevent dimensional changes in the wood after installation.
Proper acclimation is particularly important for solid hardwood flooring, which is more susceptible to changes in humidity compared to engineered hardwood. Engineered hardwood has a more stable structure due to its multi-layer construction, but it still benefits from acclimation to ensure a successful installation.
Skipping or rushing the acclimation process can lead to costly problems down the road. Taking the time to acclimate your hardwood flooring properly ensures that your beautiful new floors will remain stable and durable for years to come.
Installation Process Overview

The installation process for hardwood flooring involves several meticulous steps to ensure a flawless finish. Whether you opt for a professional installation or a DIY approach, understanding these steps is crucial for a successful project.
1. Preparation: Before installation begins, ensure the subfloor is clean, dry, and level. This may involve removing old flooring and addressing any imperfections. Proper preparation prevents issues like shifting or uneven surfaces later on.
2. Laying the Underlayment: An underlayment is often required, especially for floating floors or when installing over concrete. It provides a moisture barrier, sound reduction, and additional stability. Choose an underlayment that suits your specific hardwood and subfloor.
3. Layout Planning: Plan the layout of your hardwood planks to avoid awkward cuts and ensure a visually appealing arrangement. Start along the longest, straightest wall and use spacers to maintain expansion gaps around the room's perimeter. This step is crucial for allowing the wood to expand and contract with changes in humidity.
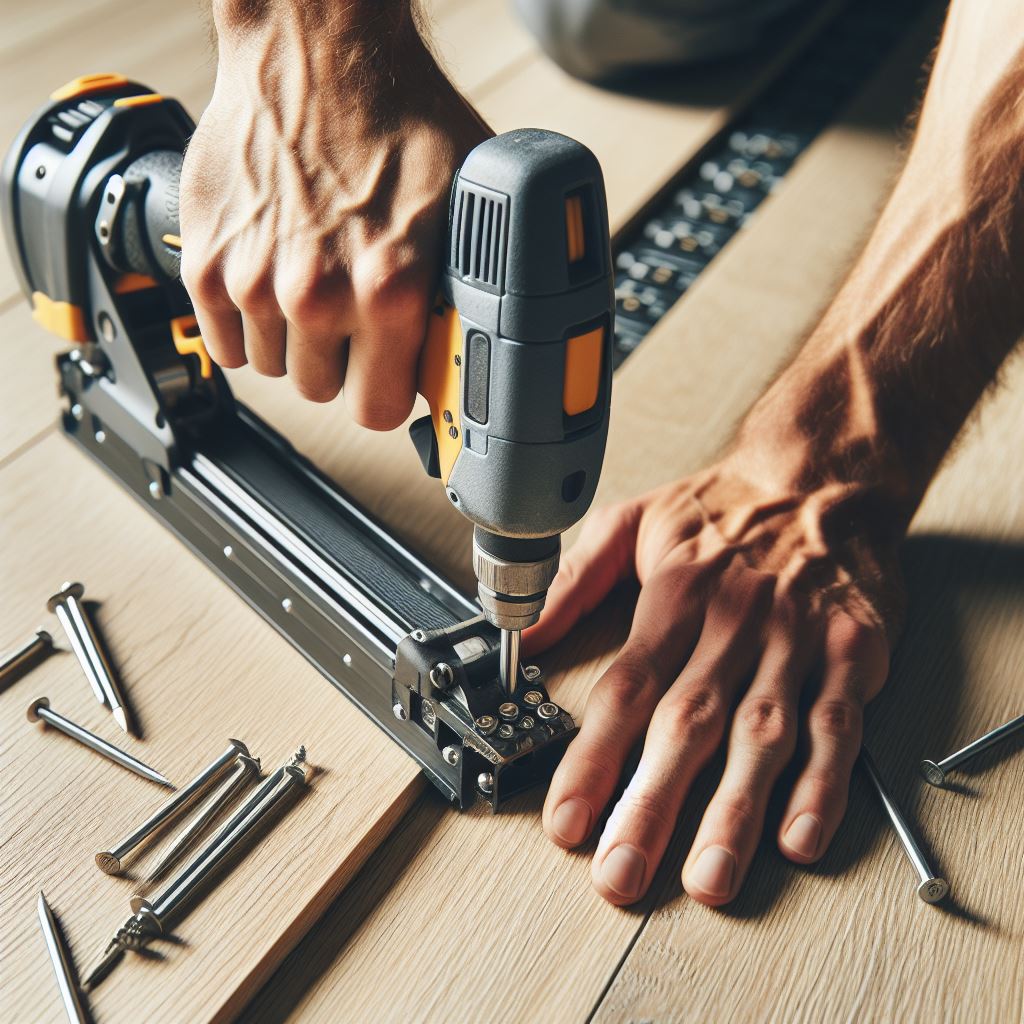
4. Installation: Depending on the type of hardwood (solid or engineered) and the installation method (nail-down, glue-down, or floating), the process will vary. For nail-down installations, secure each plank to the subfloor using a flooring nailer. For glue-down installations, spread adhesive evenly and press the planks firmly into place. Floating floors snap or click together without adhesives or nails, creating a "floating" surface over the subfloor.
5. Cutting and Fitting: Measure and cut planks to fit around obstacles like doorways and vents. Use a saw appropriate for the type of wood you're working with. Precision is key to achieving a seamless look.
6. Finishing Touches: Once the planks are installed, remove the spacers and install baseboards or molding to cover the expansion gaps. This step not only enhances the aesthetic appeal but also secures the edges of the flooring.
Understanding the installation process ensures that you or your installer can execute each step with confidence. Proper installation is fundamental to the longevity and beauty of your hardwood floors, making the time and effort invested well worth it.
Post-Installation Care and Maintenance

After the successful installation of your hardwood floors, it's essential to follow proper care and maintenance practices to keep them looking pristine for years to come. Post-installation care begins immediately after the last plank is laid and continues throughout the life of your floors.
1. Initial Cleaning: Once installation is complete, vacuum or sweep the floor to remove any dust or debris. Use a hardwood floor cleaner recommended by the manufacturer to give your floors their first clean. Avoid using water or steam mops as excessive moisture can damage hardwood.
2. Regular Maintenance: Establish a cleaning routine. Sweep or vacuum the floor regularly to prevent dirt and grit from scratching the surface. For more in-depth cleaning, use a damp mop with a hardwood-specific cleaner. Make sure the mop is not too wet to avoid water damage.
3. Protecting Your Floors: Use furniture pads under chairs and tables to prevent scratches. Place mats at entryways to reduce the amount of dirt and moisture tracked onto the floor. Avoid wearing high heels or shoes with abrasive soles on the hardwood to maintain its finish.
4. Managing Humidity Levels: Hardwood floors can expand and contract with changes in humidity. Use a dehumidifier in the summer and a humidifier in the winter to maintain consistent humidity levels and reduce the risk of warping or gapping.
5. Periodic Recoating: Depending on the traffic your floors receive, you may need to recoat them periodically. A fresh coat of finish can restore the floor's shine and provide an additional layer of protection. Consult a professional to determine the best recoating schedule for your specific type of hardwood.
By following these post-installation care and maintenance tips, you can ensure that your hardwood floors remain a beautiful and durable feature in your home. Remember, regular maintenance is key to preserving the investment you've made in your hardwood flooring.
Ready to transform your space with stunning hardwood floors? Request a free estimate or email us at sales@paradise-spaces.com to get started today!