

Embarking on a journey to install hardwood flooring in your home can be both exciting and daunting. Understanding the installation process is crucial to achieving a flawless finish that will last for years to come. In this guide, we will walk you through the step-by-step process of how hardwood flooring is installed, from initial preparation to the final touches.
Hardwood flooring is renowned for its timeless beauty, durability, and the value it adds to your home. However, the installation requires precision and attention to detail. Whether you are a seasoned DIY enthusiast or a homeowner looking to hire professionals, knowing what to expect during the installation process can help you make informed decisions and ensure a smooth experience.
Before diving into the specifics, it's essential to understand that there are different types of hardwood flooring, each with its unique installation methods. Solid hardwood, engineered hardwood, and bamboo flooring all have distinct characteristics and installation requirements. This guide will predominantly focus on solid and engineered hardwood flooring, as they are the most common choices for residential spaces.
If you're ready to transform your space with beautiful hardwood floors, request a free estimate or email us at sales@paradise-spaces.com. Our expert team at Paradise Spaces is here to assist you every step of the way.
Essential Tools and Materials Needed
Before starting the installation of your new hardwood flooring, it's crucial to gather all the necessary tools and materials. Having everything on hand will ensure a smooth and efficient installation process. Here are the essential items you'll need:
- Measuring Tape: Accurate measurements are vital to ensure the proper fit and layout of your flooring.
- Chalk Line: This tool helps you mark straight lines for precise cuts and alignment.
- Flooring Nailer or Stapler: Depending on the type of hardwood you're installing, you'll need a specific nailer or stapler to secure the planks in place.
- Hammer and Nails: For areas where a flooring nailer can't reach, a hammer and nails will come in handy.
- Power Saw: A circular saw or miter saw is essential for cutting the hardwood planks to the desired length.
- Jigsaw: This tool is useful for making intricate cuts around obstacles like vents and doorways.
- Level: Ensuring your subfloor is level is critical for a smooth installation. A long level will help you check for any uneven spots.
- Moisture Meter: Hardwood flooring needs to be acclimated to the room's humidity and temperature. A moisture meter helps you monitor the moisture content of the wood.
- Underlayment: This material provides a moisture barrier and helps reduce noise. Make sure to choose the appropriate underlayment for your specific flooring type.
- Flooring Adhesive: For engineered hardwood, you'll need a high-quality adhesive to secure the planks to the subfloor.
- Spacers: These small tools help maintain consistent gaps between the planks during installation, allowing for natural expansion and contraction of the wood.
- Safety Gear: Don't forget your safety glasses, gloves, and knee pads to protect yourself during the installation process.
By ensuring you have all these tools and materials ready, you'll set yourself up for a successful and efficient hardwood flooring installation experience. Stay tuned as we delve into the next step: preparing your subfloor for the installation process.
Preparing the Subfloor for Hardwood Installation
Properly preparing your subfloor is a critical step to ensure a long-lasting and beautiful hardwood flooring installation. Here are the key steps to follow for a flawless subfloor preparation:
- Clean the Subfloor: Start by thoroughly cleaning the subfloor to remove any dust, debris, or adhesive residue. A clean surface ensures better adhesion and a smoother installation.
- Remove Existing Flooring: If there's old flooring in place, it needs to be removed. This includes carpets, tiles, or any other type of flooring that could interfere with the new hardwood installation.
- Check for Levelness: Use a long level to check the subfloor for any high or low spots. The subfloor should be as flat as possible to avoid any issues with the hardwood planks. For minor unevenness, you can use a leveling compound.
- Repair Any Damages: Inspect the subfloor for any damages such as cracks, holes, or loose boards. Repair these issues by filling cracks and holes with a suitable filler and securing loose boards.
- Moisture Testing: Using a moisture meter, test the subfloor for moisture content. High moisture levels can lead to warping or buckling of the hardwood. If the moisture levels are too high, you may need to install a moisture barrier or address the underlying issue.
- Install Underlayment: Depending on your specific flooring type, install the appropriate underlayment. This provides a smooth surface for the hardwood planks, reduces noise, and acts as a moisture barrier.
- Acclimate the Hardwood: Before installation, allow the hardwood planks to acclimate to the room's temperature and humidity for a few days. This helps prevent expansion or contraction after installation.
Once your subfloor is clean, level, and prepared, you're ready to move on to the exciting part: laying down your beautiful hardwood flooring. In the next section, we will cover the step-by-step process of installing the hardwood planks.
Step-by-Step Hardwood Floor Installation Process
With your subfloor meticulously prepared, it's time to embark on the exciting journey of installing your new hardwood flooring. Follow these step-by-step instructions for a professional-looking installation:
- Gather Your Tools and Materials: Ensure you have all necessary tools and materials, including hardwood planks, nails, a tape measure, a chalk line, a hammer, a nail gun, spacers, and a saw.
- Layout Planning: Start by planning the layout of your hardwood planks. Measure the room and use a chalk line to mark the starting line. This will help you maintain straight rows throughout the installation.
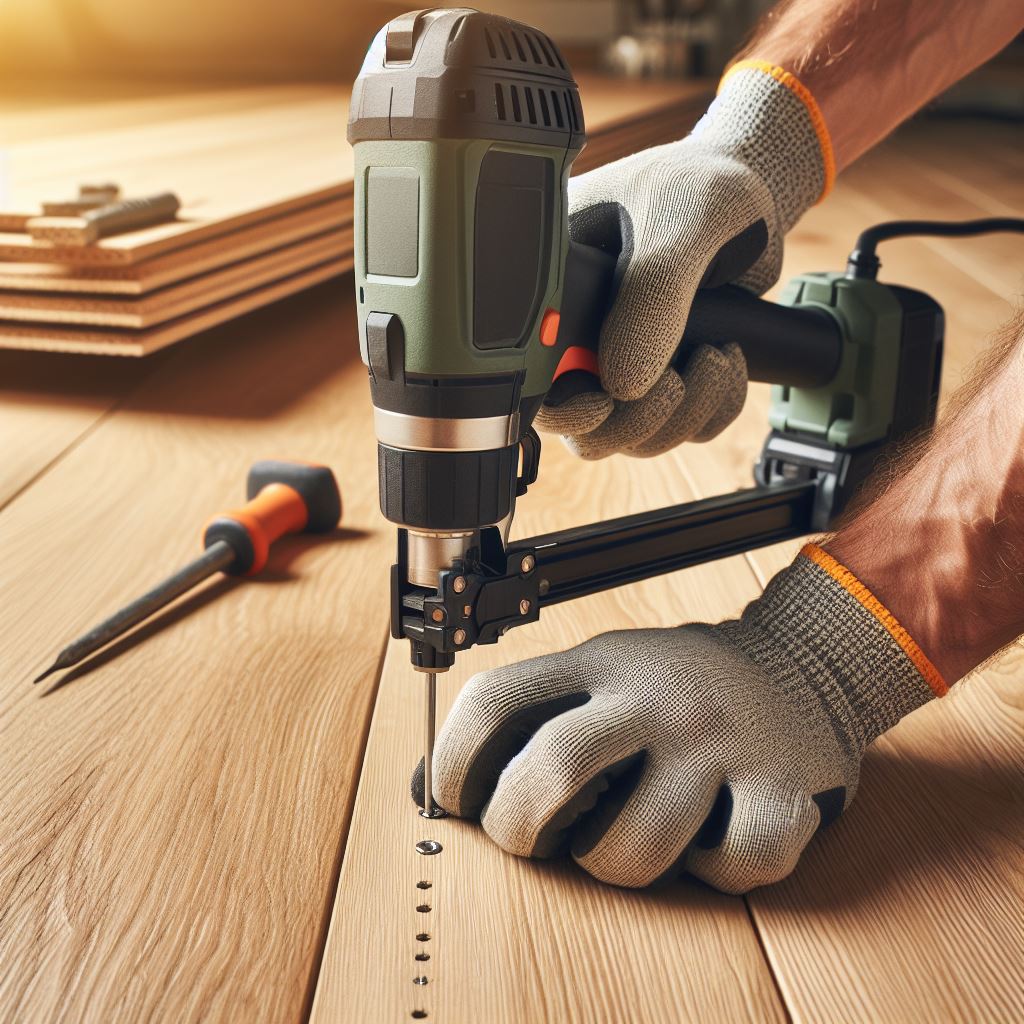
- Install the First Row: Place spacers along the wall to maintain an expansion gap. Lay the first row of planks along the starting line, ensuring the tongue side faces the wall. Nail the planks into place through the tongue at a 45-degree angle.
- Continue Laying Planks: Continue laying the planks row by row. Stagger the end joints by at least 6 inches to create a more natural look and enhance stability. Use a tapping block and hammer to gently tap the planks together for a snug fit.
- Cutting Planks: Measure and cut the last plank in each row to fit. Use a saw to make precise cuts, ensuring a tight fit against the wall while maintaining the expansion gap.
- Check for Alignment: Periodically check the alignment of the planks with a straightedge or chalk line. Adjust as necessary to keep the rows straight and even.
- Finishing Rows: As you approach the final rows, you may need to use a pry bar to fit the last few planks snugly against the wall. Continue to use spacers to maintain the expansion gap.
- Install Trim and Moldings: Once all planks are laid, remove the spacers and install baseboards or quarter-round moldings to cover the expansion gaps and give your floor a polished look.
By following these steps, you'll achieve a beautiful and durable hardwood floor that will enhance the elegance of your home. The next section will guide you through the essential finishing touches to complete your installation.
Finishing Touches and Maintenance Tips

After carefully laying down each plank, it's time to add the finishing touches that will perfect and preserve your hardwood floor. Attention to detail at this stage ensures a seamless look and long-lasting durability.
Finishing Touches
- Install Baseboards and Moldings: Remove the spacers placed during installation and attach baseboards or quarter-round moldings to cover the expansion gaps along the walls. This not only provides a polished appearance but also protects the edges of your flooring.
- Fill Gaps and Holes: Use wood filler to fill any small gaps or nail holes. Choose a filler that matches the color of your hardwood for a flawless finish.
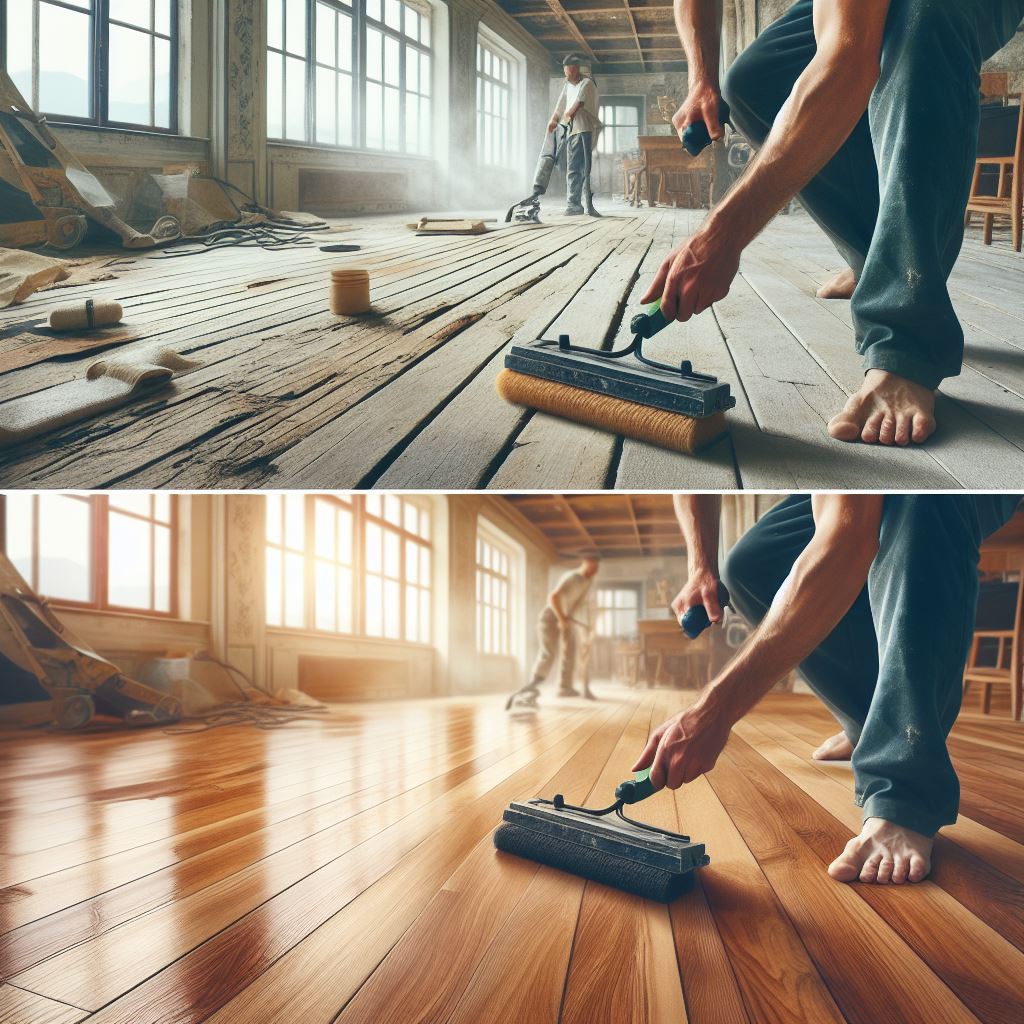
- Sand and Seal: If your floor has an unfinished surface, sand it down to achieve a smooth texture. Apply a sealant to protect the wood from moisture and wear. For pre-finished hardwood, this step is not necessary.
Maintenance Tips
Proper maintenance is crucial to keeping your hardwood floor looking its best. Here are some tips to help you maintain its beauty and longevity:
- Regular Cleaning: Sweep or vacuum your floor regularly to remove dirt and debris. Use a microfiber mop with a hardwood-friendly cleaner for a deeper clean.
- Avoid Water Damage: Wipe up spills immediately to prevent water damage. Use rugs or mats in high-traffic areas and near entrances to minimize dirt and moisture.
- Protect from Scratches: Place felt pads under furniture legs to prevent scratches. Avoid walking on the floor with high heels or shoes with sharp objects.
- Maintain Humidity Levels: Keep indoor humidity levels between 35-55% to prevent the wood from expanding or contracting excessively.
- Refinishing: Depending on the wear, your hardwood floor may need refinishing every few years. This involves sanding down the surface and applying a new coat of finish to restore its original beauty.
By following these finishing touches and maintenance tips, you'll ensure that your hardwood floor remains a stunning feature of your home for years to come. In the next section, we'll discuss the benefits of choosing professional installation services.
Common Mistakes to Avoid During Installation

Even the most detailed plans can go awry if certain common mistakes are made during the installation process. Avoiding these pitfalls will ensure a smoother installation and a more durable, attractive floor.
Common Mistakes to Avoid
- Skipping Acclimation: Failing to let your hardwood acclimate to your home’s environment can lead to expansion or contraction after installation. This can cause gaps or buckling. Always allow the wood to acclimate for at least 48 hours before installation.
- Improper Subfloor Preparation: Neglecting to properly clean, level, and dry the subfloor can result in an unstable base, causing issues like uneven planks or squeaky floors. Ensure the subfloor is in optimal condition before starting.
- Incorrect Nailing or Gluing: Using incorrect methods or materials for nailing or gluing can compromise the integrity of your floor. Follow manufacturer recommendations closely to ensure a secure installation.
- Not Leaving Expansion Gaps: Wood expands and contracts with changes in humidity. Forgetting to leave expansion gaps around the room’s perimeter can cause the planks to buckle. Always leave a small gap between the flooring and the wall.
- Poor Layout Planning: Failing to plan the layout can result in an uneven appearance or awkward cuts. Take time to measure and plan the layout to ensure a balanced look.
By being mindful of these common mistakes, you can avoid potential problems and ensure a successful hardwood flooring installation. If you find the process daunting, consider hiring professionals to handle the job for you.
Request a free estimate or email us at sales@paradise-spaces.com to discuss your project needs and get expert advice.