

Welcome to the world of hardwood floor refinishing, where the transformation of your floors from worn to spectacular is just a process away. Refinishing your hardwood floors is a fantastic way to revive the beauty of your home and enhance the overall aesthetic appeal. If you're considering taking on this project, understanding how to sand and finish a hardwood floor is crucial to achieving that sought-after professional finish.
Whether you're dealing with years of wear and tear, or simply looking to update the look of your space, sanding and finishing your hardwood floors can significantly impact the value and comfort of your home. With the right tools, materials, and techniques, you can breathe new life into your flooring, making it a central feature of your home's design.
Before diving into the nitty-gritty of the process, it's important to note that while DIY refinishing is an option, for the best results, enlisting the help of professionals is advisable. At Paradise Spaces, we specialize in turning your flooring visions into reality with our expertise in hardwood and luxury vinyl floors. If you're in the Dallas Fortworth area and are looking to refine your floors to perfection, request a free estimate or email us at sales@paradise-spaces.com.
Essential Tools and Materials for Sanding Hardwood Floors
Embarking on the journey of sanding your hardwood floors requires not just skill and patience, but also the right set of tools and materials. To ensure a smooth and efficient process, here's a list of essentials you'll need to gather before you begin:
- Drum Sander: This is the primary tool for sanding hardwood floors. It's powerful and efficient, perfect for sanding large areas.
- Edge Sander: A smaller, handheld sander designed to reach the areas that the drum sander cannot, like corners and edges.
- Sanding Pads: Various grit levels are needed, from coarse for initial sanding to fine for finishing touches.
- Orbital Sander: Ideal for finishing and smoothing the floor after the initial sanding.
- Shop Vacuum: Essential for cleaning up the dust and debris between each sanding pass.
- Protective Gear: Safety goggles, dust masks, and ear protection are a must-have to safeguard your health and well-being during the process.
- Stain: If you wish to change the color of your hardwood, a stain of your choice will be necessary.
- Sealer: To protect your freshly sanded floors, you'll need a high-quality sealer.
- Applicators: Brushes, rollers, or pads for applying the stain and sealer evenly.
With these tools and materials, you're well on your way to effectively sand and refinish your hardwood floors. Each item plays a crucial role in the process, from the initial removal of the old finish to the final, exquisite polish. By ensuring you have everything on this list, you'll be prepared to tackle each step with confidence and precision.
Step-by-Step Guide to Sanding Your Hardwood Floor

Once you've assembled the necessary tools and materials, it's time to dive into the sanding process. Sanding your hardwood floor can be broken down into a series of methodical steps, ensuring a professional-grade finish:
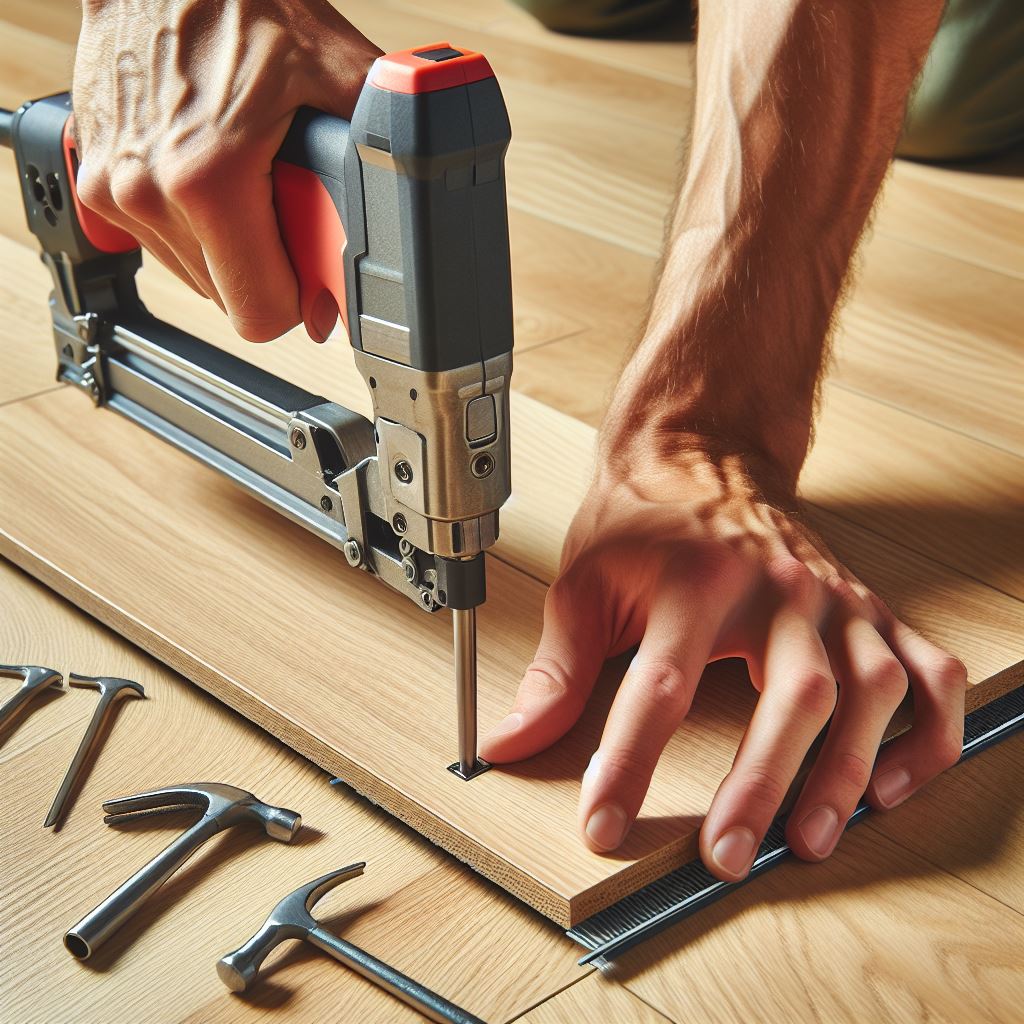
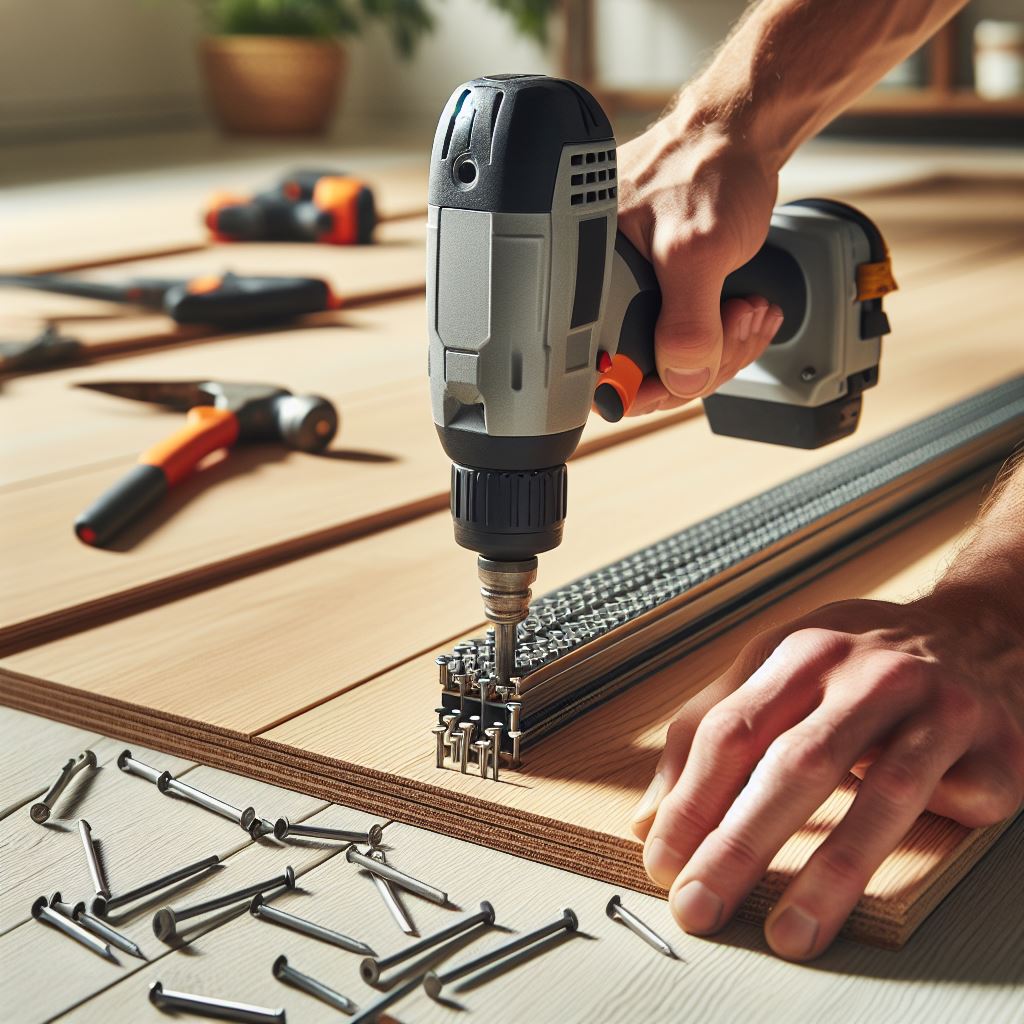
- Preparation: Begin by removing all furniture, rugs, and debris from the room. Ensure nails or staples are either removed or properly countersunk to avoid damaging the sanding equipment.
- Coarse Sanding: Using the drum sander with a coarse-grit sandpaper, start at one end of the room and move steadily along the grain of the wood. Overlap each pass slightly, and never let the sander sit in one spot to prevent gouging.
- Edge Sanding: After the main areas are done, switch to the edge sander with the same grit you used on the drum sander to smooth the perimeter of the room.
- Intermediate Sanding: Replace the sandpaper with a medium grit and repeat the process, working from coarse to fine grits. This helps to remove any scratches left by the previous sanding.
- Fine Sanding: Finish with a fine-grit sandpaper to achieve a smooth surface. An orbital sander can be used for the final pass to ensure an even finish.
- Cleaning: Thoroughly vacuum the floor and wipe with a tack cloth or slightly damp mop to remove all dust.
- Inspection: Carefully inspect the floor for any missed spots or uneven areas. Spot-sand as necessary before proceeding to finishing.
By following these steps meticulously, you will methodically transform your worn hardwood floor into a revitalized and smooth surface ready for staining and finishing. Remember to maintain a consistent pace and pressure throughout the sanding process to avoid unevenness or dips in the floor.
Choosing the Right Finish for Your Hardwood Floor
After sanding your hardwood floor to perfection, selecting the right finish is crucial for protection and aesthetics. The market offers a variety of finishes, each with unique benefits:
- Water-Based Polyurethane: This finish is known for its clarity and fast drying time. It has a minimal odor and won't yellow over time, making it ideal for maintaining the true color of the wood.
- Oil-Based Polyurethane: Offering a warm amber glow, this finish is durable and long-lasting. It takes longer to dry and has a stronger odor compared to water-based polyurethane.
- Hardwax Oil: If you're looking for a natural finish that enhances the wood's grain and color, hardwax oil is a great choice. It's easy to repair and reapply, but requires more maintenance.
- Aluminum Oxide: Often pre-applied on engineered hardwood floors, aluminum oxide finishes are extremely durable and scratch-resistant, making them suitable for high-traffic areas.
- Shellac or Lacquer: These traditional finishes impart a lustrous shine but are less resistant to scratches and moisture compared to modern polyurethanes.
Consider the level of traffic, the desired maintenance level, and the aesthetic appeal when choosing the right finish. For a glossy look, high-gloss finishes are striking, whereas satin or matte finishes offer a subtler appearance and better hide imperfections. Consult with a flooring expert at Paradise Spaces if you're uncertain about the best fit for your home. Each finish has specific application methods and drying times, so follow the manufacturer's guidelines carefully to ensure the best results for your hardwood floor.
Applying the Finish for a Flawless Look
Once you've chosen the perfect finish for your hardwood floor, applying it correctly is key to achieving that professional, flawless look. Begin by ensuring your sanded floor is clean, dust-free, and completely dry. Use a tack cloth or a damp mop to pick up any remaining dust particles. Next, consider the following steps for a smooth application:
- Preparation: Use painter's tape to protect baseboards and any adjacent surfaces that you don't want the finish to touch.
- Primer or Sealer: Apply a thin coat of primer or sealer if recommended by the finish manufacturer. This will help the finish adhere better and last longer.
- Technique: Use a high-quality brush, roller, or pad recommended by the finish type. For water-based finishes, synthetic brushes or rollers are often preferred, while natural bristle brushes are recommended for oil-based finishes.
- Application: Apply the finish in thin, even coats, following the grain of the wood. Start from the farthest corner of the room and work your way towards the exit to avoid stepping on the wet finish.
- Drying Time: Allow adequate time for the finish to dry between coats. Drying times can vary based on humidity, temperature, and the type of finish used.
- Final Coats: Lightly sand between coats with a fine-grit sandpaper to ensure a smooth, even surface. Remove all sanding dust before applying the next coat. Typically, two to three coats of finish are sufficient.
Patience and precision are vital during the finishing process. Rushing or applying too thick of a coat can lead to uneven textures, bubbles, and longer drying times. By carefully following these steps and allowing each coat to properly dry, you'll create a stunning and durable floor that enhances the beauty of your space for years to come.
Maintenance Tips for Your Newly Finished Hardwood Floor

Maintaining your newly finished hardwood floor will ensure it continues to look its best and extends its lifespan. Here are some essential maintenance tips:
- Regular Cleaning: Sweep or vacuum regularly to remove dirt and grit that can scratch the floor. Use a damp mop with a cleaner specifically designed for hardwood floors.
- Prevent Water Damage: Wipe up spills immediately. Avoid using wet mops or steam cleaners, as excess water can damage the finish and the wood.
- Use Protective Pads: Place felt pads under furniture legs to prevent scratches and dents. Avoid dragging furniture across the floor when moving it.
- Rugs and Mats: Use rugs and mats in high-traffic areas and at entrances to trap dirt and moisture. Make sure they are breathable and made for use on hardwood floors.
- Avoid Harsh Chemicals: Never use harsh chemicals, abrasive cleaners, or oil soaps on your floors as they can damage the finish and the wood.
- Refinishing: Over time, you may need to buff and recoat the floor to renew its shine. This is typically needed every 3-5 years, depending on the level of traffic and wear.
By following these simple steps, your hardwood floor will retain its beauty and durability for many years. If you have any questions about maintenance or need professional assistance, don't hesitate to request a free estimate or email us at sales@paradise-spaces.com. Remember, taking care of your hardwood floor is an investment in your home's value and aesthetic appeal.